Edit Package Dialog Box
- Updated2023-02-21
- 2 minute(s) read
Edit Package Dialog Box
Use the Edit Package dialog box to edit the specified Package or Package Installer Patch distribution.
Complete the following steps to access the Edit Package dialog box:
- Select Build»Distributions»Manage Distributions to open the Manage Distributions dialog box.
- If you have an existing distribution, click the Add button, select your file, then click the Edit button to open the Edit Package dialog box.
If you do not have an active distribution, click the New button to create a new distribution and select Package Distribution as the distribution type. After you click the OK button in the New Distribution dialog box, the Edit Package dialog box opens automatically.
 |
Note You also can access the Edit Package dialog box for existing distributions by selecting Build»Distributions»Edit Distribution Name if your active distribution is a Package or Package Installer Patch. |
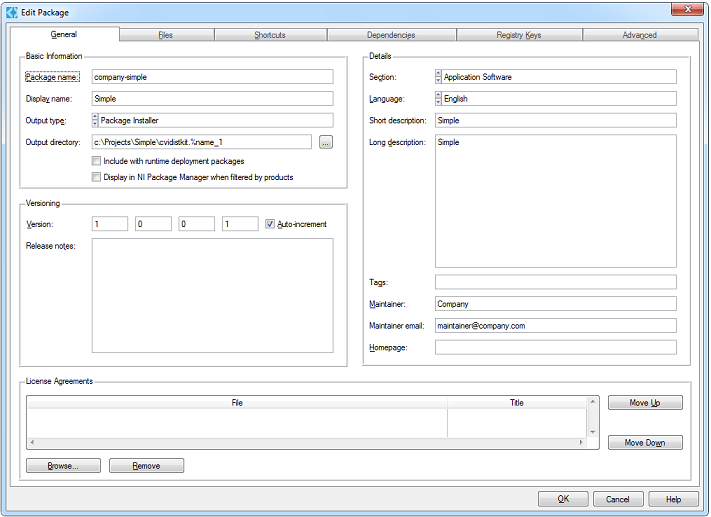
The Edit Package dialog box contains the following tabs:
- General—Use the General tab to configure the package name, output type, output location, version, and other general settings.
- Files—Use the Files tab to specify what files to install and where to install them, as well as any file options.
- Shortcuts—Use the Shortcuts tab to create shortcuts for installed files.
- Dependencies—Use the Dependencies tab to specify how your package relates to other packages, as well as version restrictions.
- Registry Keys—Use the Registry Keys tab to specify what registry entries to create as part of the installation process.
- Advanced—Use the Advanced tab to specify a hardware configuration file to import, sign your package installer executable and install a custom LabWindows/CVI Shared Run-Time Engine message file.