NI does not actively maintain this document.
This content provides support for older products and technology, so you may notice outdated links or obsolete information about operating systems or other relevant products.
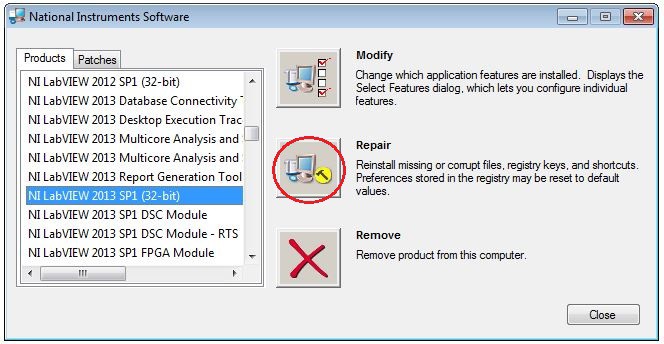
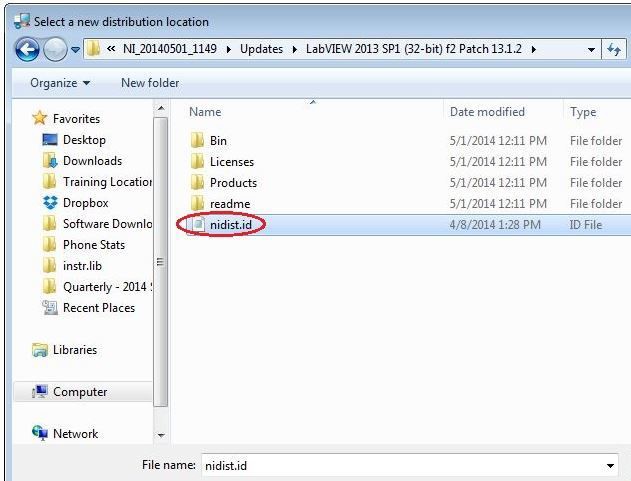
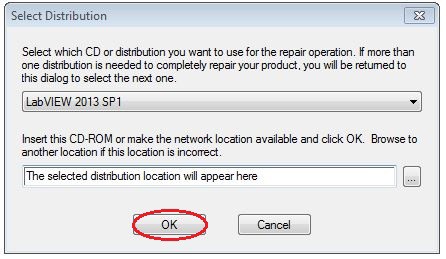
Repairing software can be useful if your product is not functioning correctly. The Windows Add/Remove software dialog gives users access to both Uninstall and Repair.
This article provides the correct procedure to uninstall or repair NI software Application Development Environment (ADEs), toolkits, modules, and drivers under Windows XP, Windows Vista, Windows 7, and Windows 10 if they were installed using stand-alone Windows installers. Note that screenshots in the steps below are from various Windows enviroments and your experience may look slightly different depending on your OS.
Note: NI has moved to primarily distributing software using NI Package Manager (NIPM); these steps are not applicable for software installed using NIPM. Follow the steps in this article if you installed software using stand-alone Windows and not NI Package Manager (NIPM). If you have installed software using NIPM, please use this article instead. If you are unsure which method you are using, please continue below and review at step 6.
The following steps document the correct procedure to repair or uninstall NI software products under Windows XP, Windows Vista, or Windows 7.
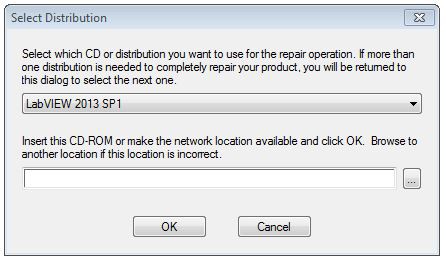
Note: Performing a repair installation of any NI software product will reinstall any missing or corrupt files, registry keys, or shortcuts. Any preferences stored in the registry may be reset to default values, so take note of any custom program settings you may have configured.
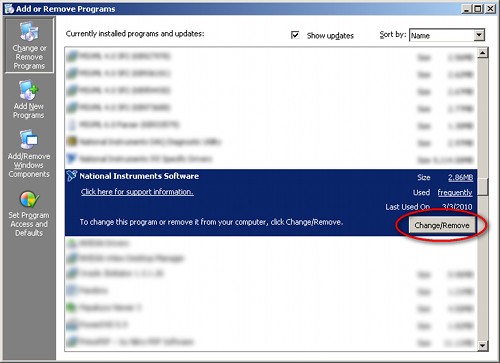
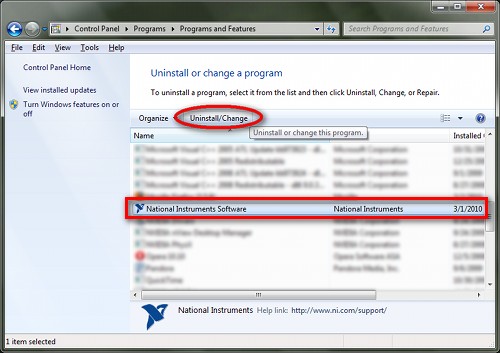
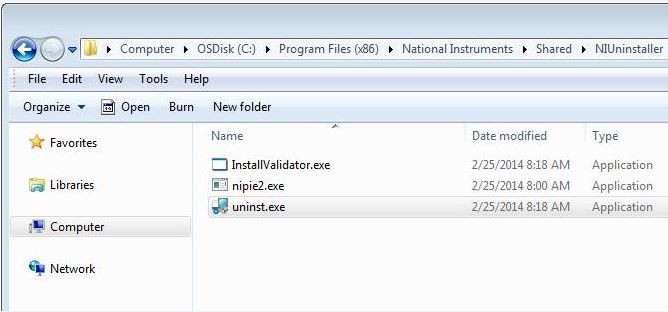
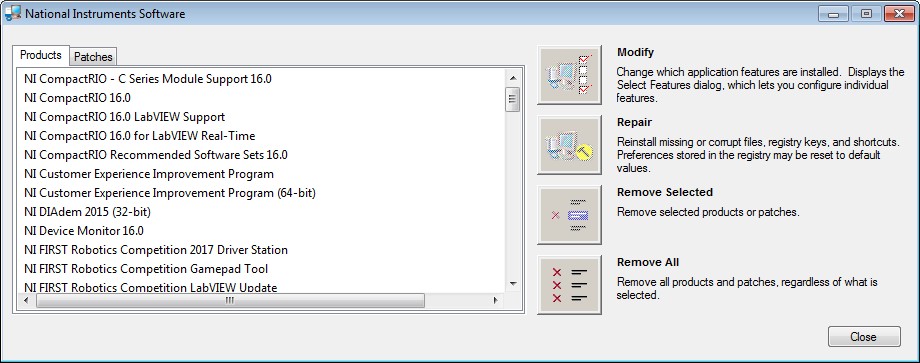
Note: If you are not able to access your Add/Remove Programs list you can open the National Instruments Software window by manually launching uninst.exe from the following directory:
<Program Files>\National Instruments\Shared\NIUninstaller
