Required and Optional Software to Program NI myRIO
Overview
Contents
- NI LabVIEW Support for NI myRIO
- Activating your NI myRIO Software
- LabVIEW Programming for myRIO
- C Support for NI myRIO
- Additional Resources
NI LabVIEW Support for NI myRIO
With NI LabVIEW software, you can take full advantage of both the processor and FPGA on NI myRIO. The easiest way to access the latest myRIO software is with the myRIO Software Bundle.
The required software for programming myRIO includes:
Note: This is included in the above myRIO Software Bundle.
The optional software for programming myRIO includes:
Note: This is included in the above myRIO Software Bundle.
- LabVIEW FPGA Module
- Compilation Tools for Vivado
- Vision Development Module
- Vision Acquisition Software
- LabVIEW Control Design and Simulation Module
- Control Design Assistant
- System Identification Assistant
- LabVIEW MathScript RT Module
- Robotics Module for LabRIO (formerly LabVIEW Robotics Module for myRIO and roboRIO)
Activating your NI myRIO Software
Your myRIO hardware may have included a software serial number that can be used to activate both the required and optional software. This serial number would be located on the software DVD packaging. If not, you can activate the software using your school's Academic Volume License, or by purchasing individual licenses.
LabVIEW Programming for myRIO
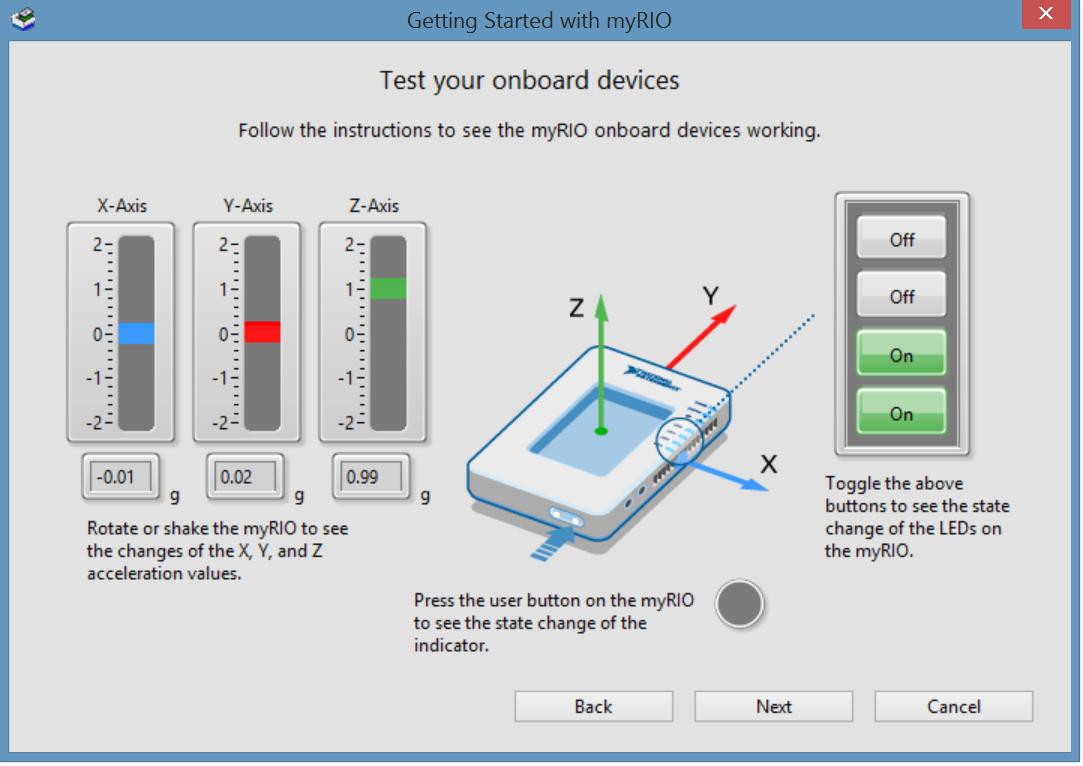
After installing the required software for myRIO, start by following a customized getting started experience designed to ensure your success with NI myRIO and access to NI myRIO resources directly from the LabVIEW Getting Started Window.
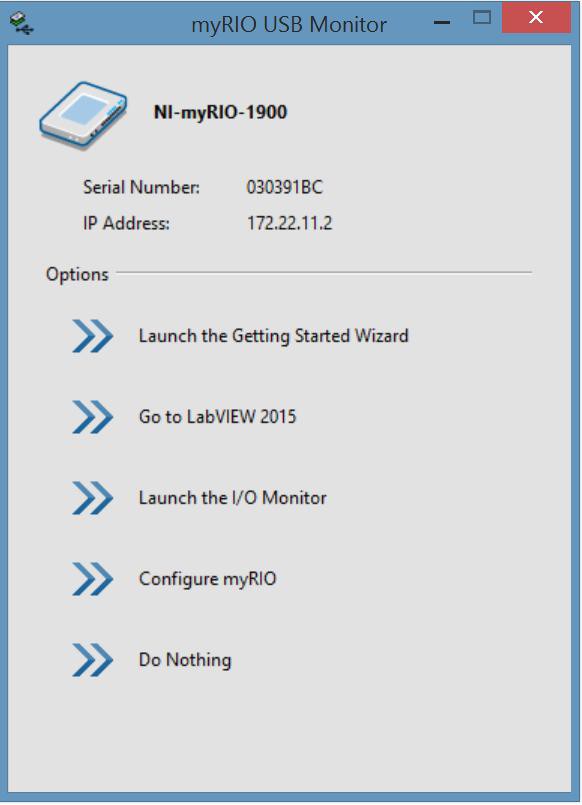
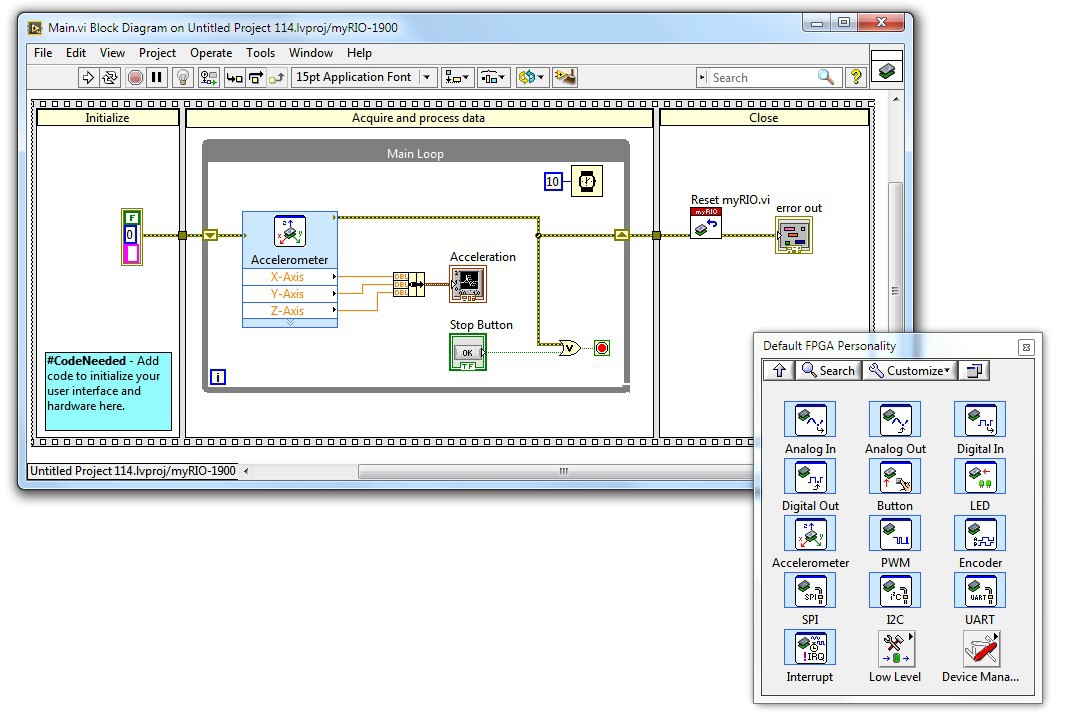
After completing the Getting Starting Wizard, you can write programs quickly using I/O-specific Express VIs directly from the LabVIEW pallette.
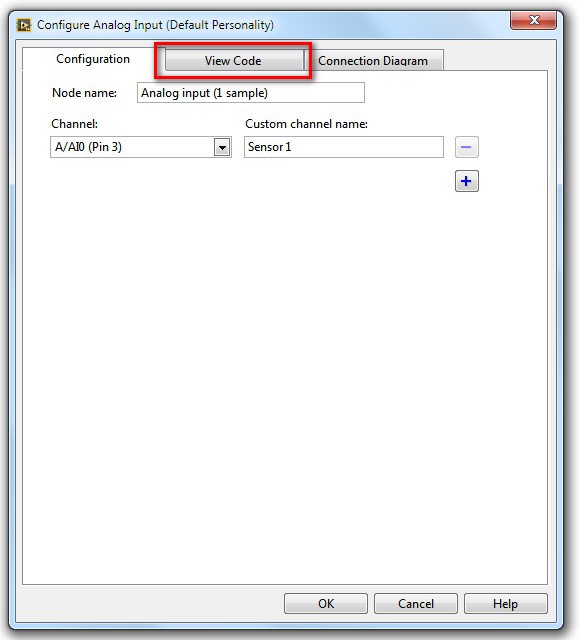
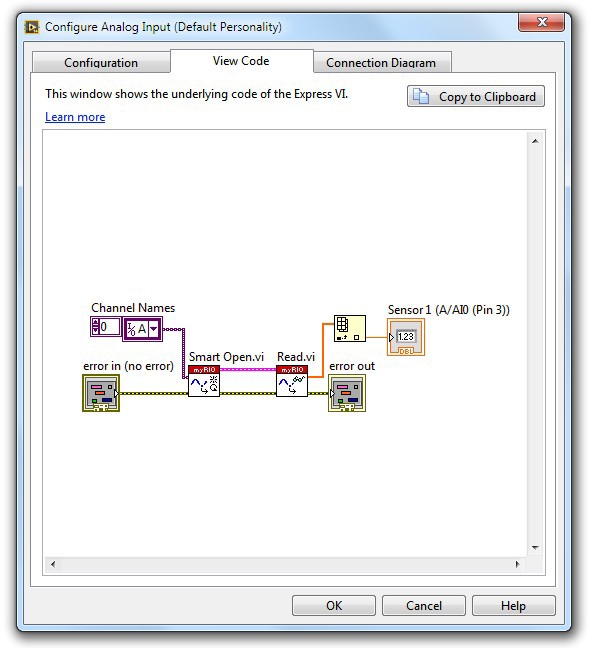
When you are ready to graduate to the next level of programming, click the “View Code” tab on any Express VI to see the underlying code.
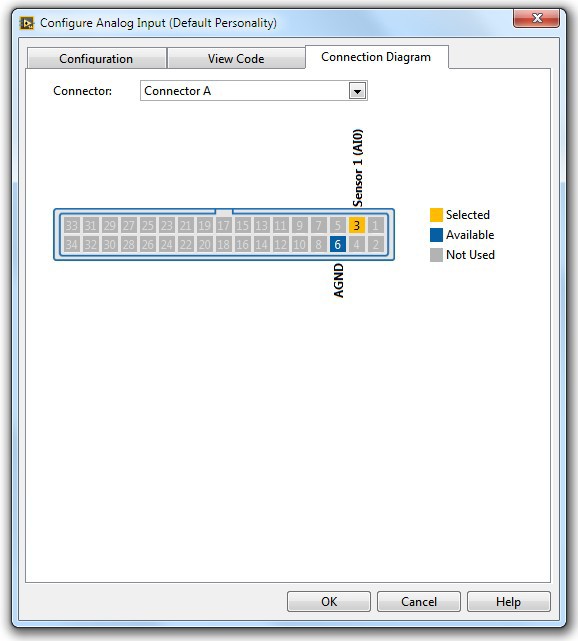
Additionally, you can click the Connection Diagram tab to help you wire to the I/O type you have chosen on the myRIO.
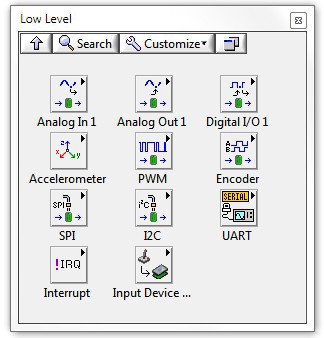
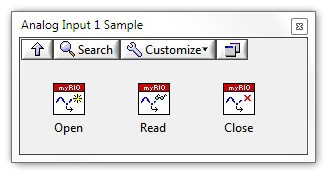
You can program with NI myRIO Low Level VIs to learn more about the open, read/write, close architecture, which is common to LabVIEW programming.
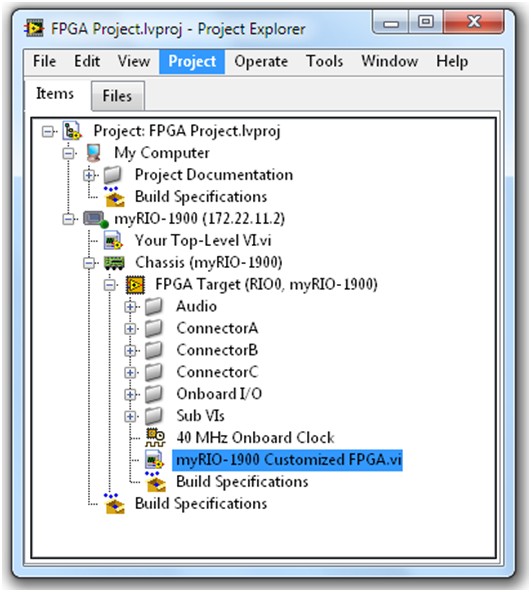
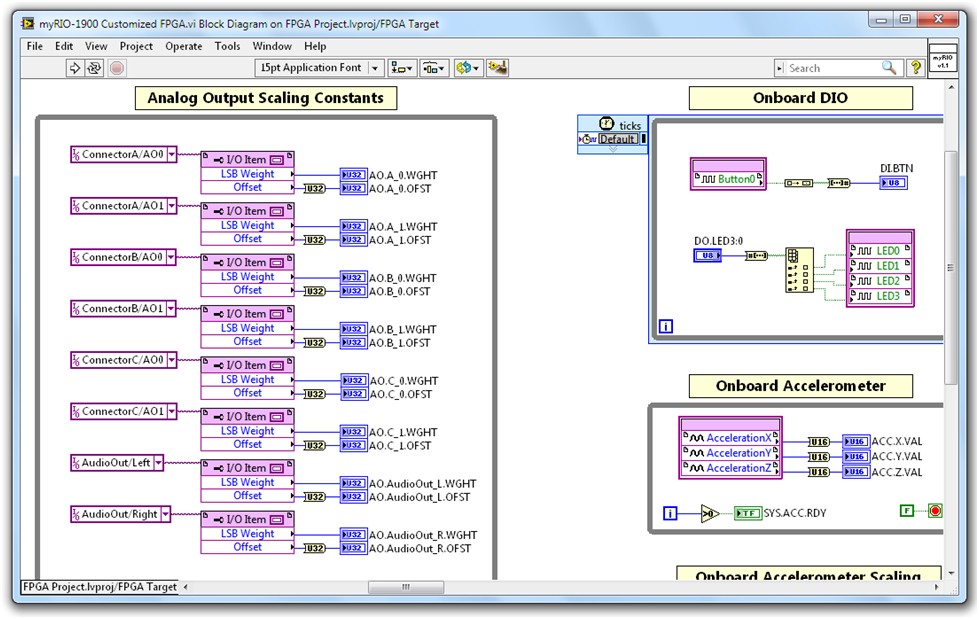
To customize the FPGA of NI myRIO, you must use the LabVIEW FPGA Module. This gives you the ability to view the NI myRIO FPGA shipping personality as well as make customizations to the FPGA.
C Support for NI myRIO
You can program the NI myRIO processor using C or C++. It is important to note that you must use the LabVIEW FPGA Module to customize the FPGA. Learn more about C programming with NI myRIO and how to get started.
